

My grandma always used to make a dozen dish “scratchers” from netting for each of her daughters every Christmas. It was a tradition that we haven’t kept up with even though the scratchers aren’t hard to make and we all love using them to wash our dishes.
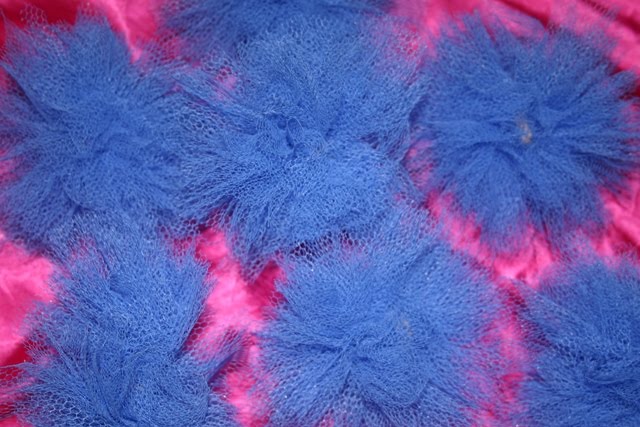
When we stayed with my aunt and uncle last month I made my aunt some red scratchers. I also made myself the blue scratchers pictured above. Considering you can often purchase a yard of netting for less than a dollar, these scratchers are very frugal to make.
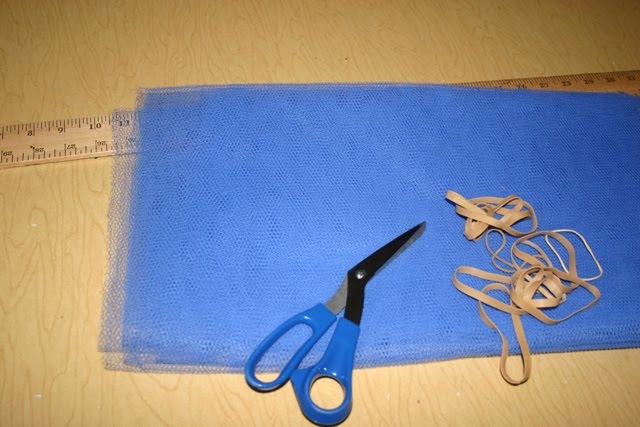
To make 7 scratchers of your own you will need 1 yard of netting (It is rougher than tulle.), some scissors, a ruler, and rubberbands. My grandma always used a needle and thread to sew the scratchers together. However, I figured out a couple of years ago that I could use a rubberband instead of hand sewing each scratcher.

Fold the netting into eights and cut it into 5 inch pieces. You should end up with 14 pieces of netting at this point.

Take 2 pieces of netting, unfold them and line them up evenly.
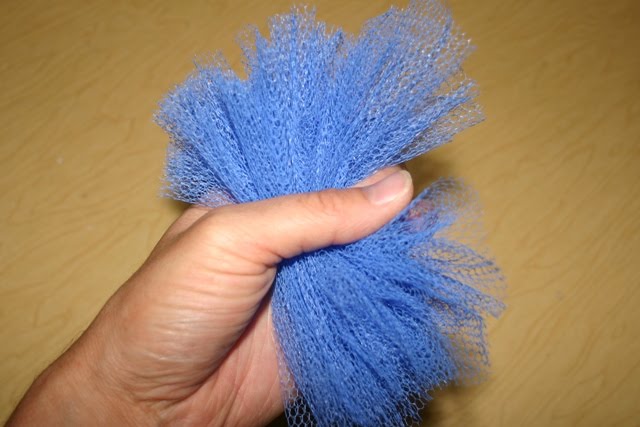
Start accordian folding the netting until you have something that looks like this in your hand.
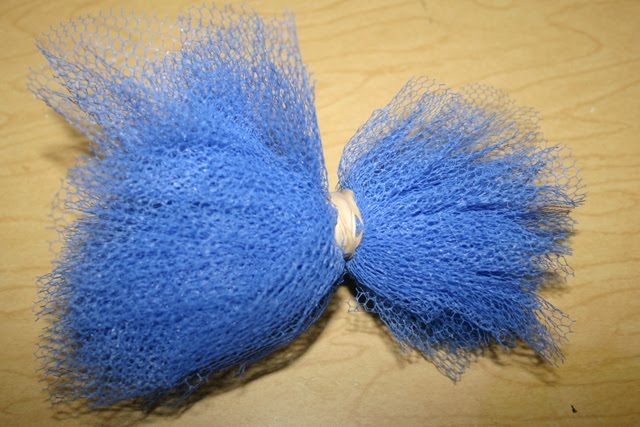
Take a rubberband and wrap it around the center of your netting until you can’t wrap it any more.
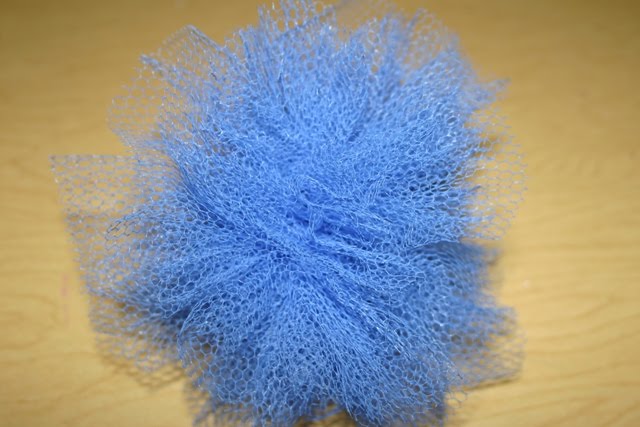
Pull the two layers apart so that your scratcher starts to pouf. If you have any parts of your scratcher that stick out too much you can trim them up with your scissors. Of course, they don’t have to be perfect because you are just going to wash dishes with them.
Now you are ready to wash some dishes with your new scratchers. Have fun!
You can now download and print these instructions in PDF format by clicking the link below.
Netting Dish Scratcher Tutorial PDF

I am linking this post to:
Strut Your Stuff Thursday at Somewhat Simple
Show of Your Stuff Party at Fireflies & Jellybeans


