Welcome to week one of a six week series I am starting to show you how to make a simple T-shirt quilt.

Nearly three years ago I wrote a post about a T-shirt quilt I had made for my husband. It has been one of my most popular posts since then.
A few months ago my husband gave me a bunch of T-shirts to make another quilt from the school he last taught at.
I had intended to get the quilt made for his birthday this summer. However, since that didn’t happen I have moved it to my Christmas gift list.
With time ticking away I decided now was the time to get this project started.
And, since this seems to be a project that many people either want to do or like the idea of, I thought I would break the project up into 6 weeks. No sense in getting overwhelmed trying to do it all at once.
So, if you would like to make a simple T-shirt quilt as well, let’s get started.
Week 1: Gather Supplies
Here are the supplies you will need in order to make a T-shirt quilt.
- Old T-shirts
- Scissors
- Rotary Cutter & Mat
- Ruler/Quilting Square
- Lightweight Fusible Interfacing
- Thread
- Sewing Machine
- Iron
- Quilt Batting
- Backing Fabric (A little larger than finished quilt top size.)
- Coordinating Fabric for Binding (1 1/2 Yards)
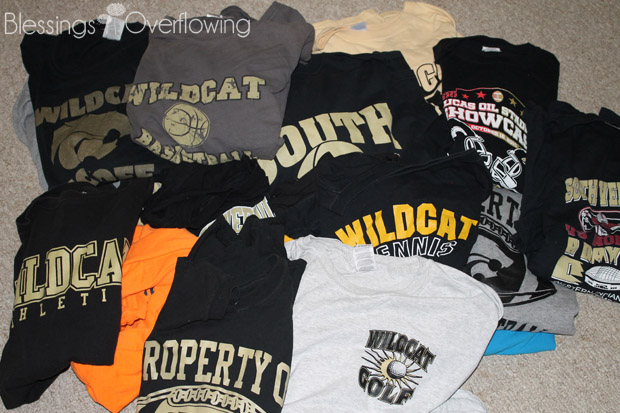
I think it is best to gather all of the T-shirts you want to use for your quilt and figure out how many you have. This will help you determine how big your quilt will be. For my first quilt I used 30 T-shirt squares. Some of the squares were from the backs of T-shirts so I didn’t have 30 total T-shirts. This is something to keep in mind.

Some tools like a rotary cutter, mat, and quilting square template are invaluable for making this quilt. If you don’t have them I highly recommend purchasing them. (See list at end of post for a few recommended items.)
I prefer to use a 12 1/2 inch square cutting template because it is big enough for the designs on my husband’s shirts. Also, they are made of hard plastic and make cutting out the designs easier.
You also need to purchase enough lightweight fusible interfacing to cover each T-shirt square (We will discuss this more in week 3.).

We can’t forget about the fabric you will need for the back of your quilt and for the binding. A flat sheet is a great option for the backing fabric or you can purchase special quilt backing fabric that is the right size so you won’t have to piece any fabric together.
I have purchased a sheet for this quilt because it was a cheaper option that yardage of quilt backing fabric.
There are lots of options for quilt batting. Many seasoned quilters probably stay away from the kind of batting pictured above. I chose this type because I found it at a nearby Goodwill for $1.49. It had never been opened. Score!

I recommend keeping all of the excess T-shirt fabric for various projects (I have several listed in the archives.). Also, they make a great hiding spot for 5 year old little boys. 🙂
If you would like to purchase some of the items you will need to make a T-shirt quilt through Amazon you can see some of them in the widget below.
Note: I am an affiliate to Amazon so if you purchase something you get a great deal and I get a small commission.
If you want to make sure you don’t miss a post in this series I would love to have you subscribe or follow along on Facebook.
How to Make a T-shirt Quilt
- Week 1: Gather Supplies
- Week 2: Cut the T-Shirts
- Week 3: Interfacing
- Week 4: Sew the T-shirt Blocks Together
- Week 5: Quilting
- Week 6: Quilt Binding
