Last year I saw all sorts of LEGO boxes popping up on Pinterest and I thought they would be so fun for my boys. However, I didn’t get any made last Christmas.
This year, though, I knew I had to make some.
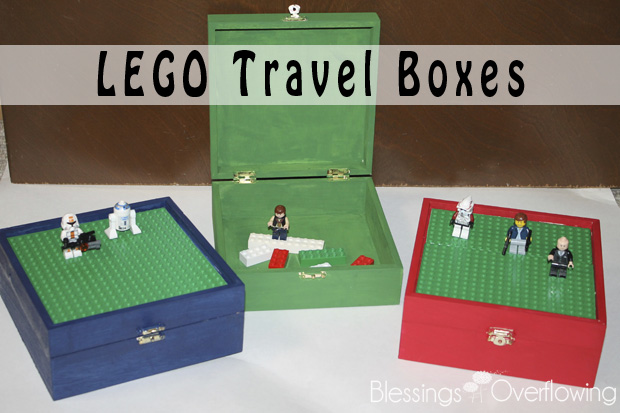
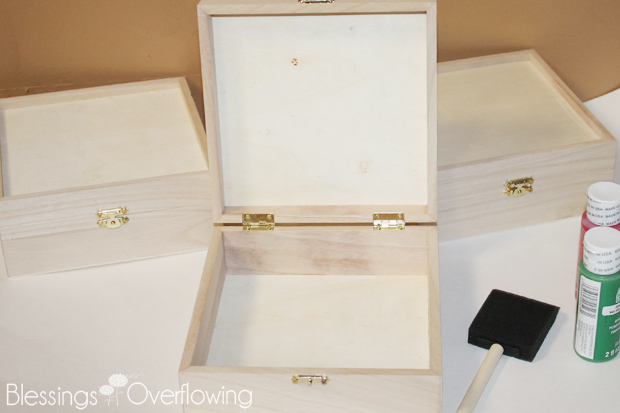
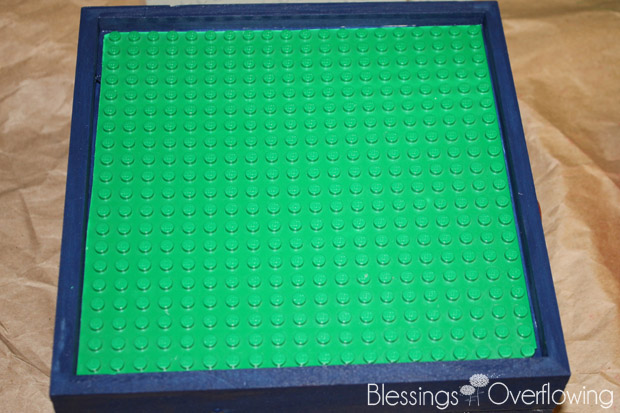
I found the perfect boxes at JoAnn Fabrics that were 7 inches square and even had raised edges to allow the LEGO baseplates to fit right on top.
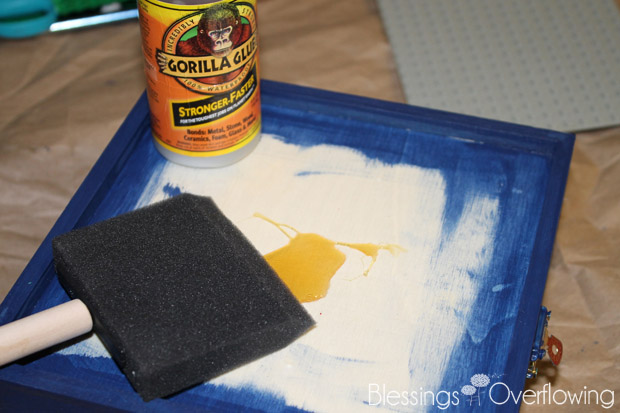
So, armed with the boxes, some LEGO baseplates![]() (affiliate link) we already had, acrylic paint, foam brushes, and some Gorilla Glue (affiliate link), I got to work.
(affiliate link) we already had, acrylic paint, foam brushes, and some Gorilla Glue (affiliate link), I got to work.
I painted each box a different color so there will hopefully be no confusion as to whose box is whose. 🙂
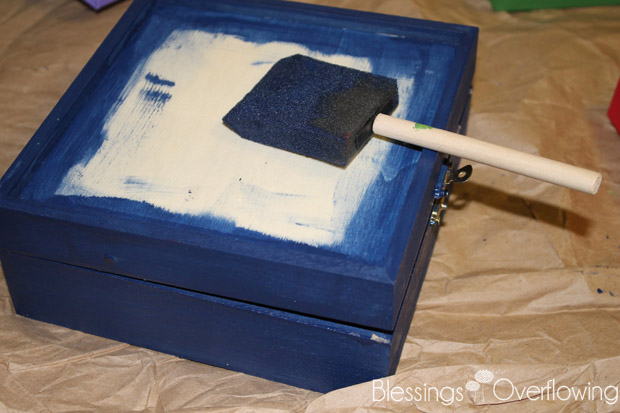
After the two coats of paint were dry I used a thin layer of Gorilla Glue (affiliate link) on the top to adhere to baseplate to the box.
I will say that I had to work quickly and the glue is not easy to spread out. However, it seems to have worked well.
The true test will be to have my 9 year old test it out. If the baseplate stays on his box, then it will stay on any kids’ box. 🙂
Did you know that you can cut LEGO baseplates![]() (affiliate link) with scissors? That’s how I cut the baseplates to size.
(affiliate link) with scissors? That’s how I cut the baseplates to size.
I even used a couple of pieces for two of the boxes and they don’t look much different than the box above.
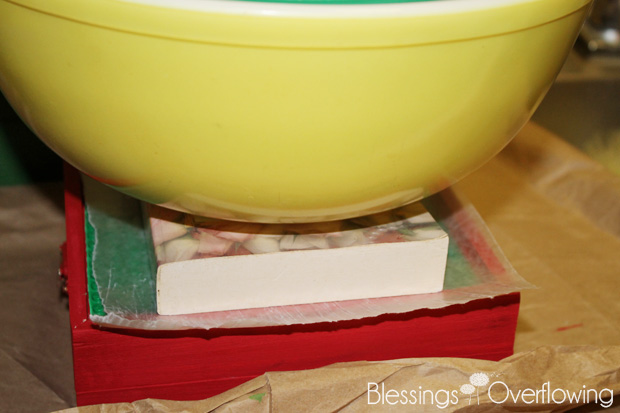
Anyway, after I applied the glue and put the baseplates on, I set a book and some heavy bowls on the boxes to help the baseplates adhere properly to the glue.
You will notice that I used a piece of waxed paper under the book. I did this for the boxes that I had to use pieces of the baseplates for.
The waxed paper just ensured that nothing stuck to any glue that might have made it through the cracks.
Once dry, the boxes are ready for action. I think my boys will like them.
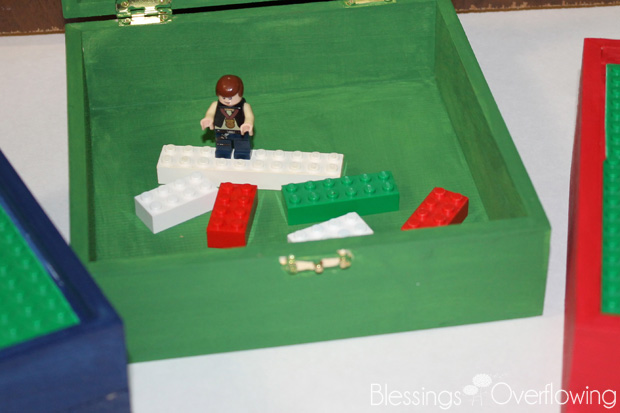
Even if they don’t use them as travel boxes, they can still use them to hold all of their mini figures in them.
Do your kids enjoy LEGO’s? My boys sure do. 🙂