I have been canning green beans for several years thanks to my husband’s aunt loaning me her pressure canner. She hasn’t needed it for a few years, so it stays at my house all of the time. It has been a blessing. However, if I didn’t have her canner it would be worth it to purchase a new pressure canner. I know many people are scared of them, but I have not had any trouble yet.
The reason you need to have a pressure canner is to preserve low acid foods like green beans, carrots, meat, soups, and more. A water bath canner is great for jellies, fruit, and tomatoes, but it is unsafe to use with the aforementioned low acid foods. If you don’t want to poison your whole family and waste all of your produce and hard work, trust me on this. You can’t process green beans in a water bath canner.
Now, if you have access to a pressure canner, you want to check the gaskets and seals before each use. Also, I have found that I have to use a gas range instead of an electric range to get my pressure canner hot enough. Maybe newer pressure canners wouldn’t have this problem, but this is what I have found works best for me.
Are you ready to can some green beans? Well, here is what I do.
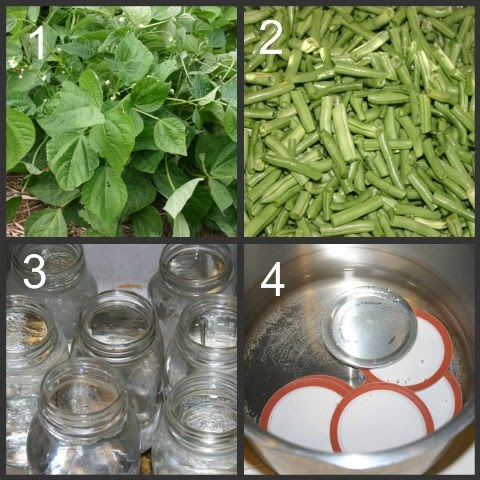
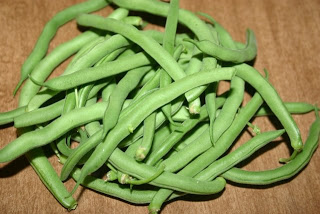
1. Pick some green beans. 
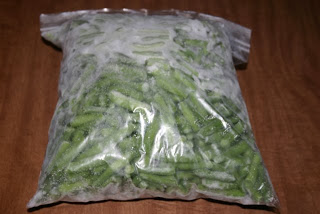
2. Break the ends off of the beans, snap them into pieces and rinse them.
3. Check the jars for cracks and put boiling water in them.
4. Simmer canning lids in a pan. In another large pot boil some water which will be poured into each jar after the green beans have been added.
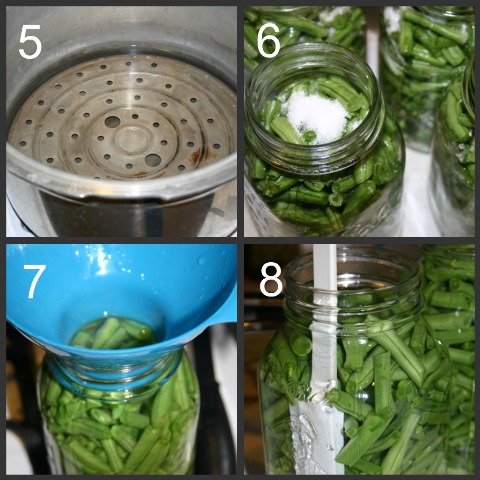
5. My canner calls for 2 quarts of water. Add the specified amount for your canner and bring to a boil.
6. Pour water out of jars and add green beans. Add 1 teaspoon of salt to each quart jar and 1/2 teaspoon for each pint.
7. Add boiling water to each jar. Leave at least 1/2 inch of head space. I usually fill the jars only to the threaded part of the jar.
8. Use a rubber spatula to get all of the air bubbles out of the jar. I just stick the spatula into the jar a few times .
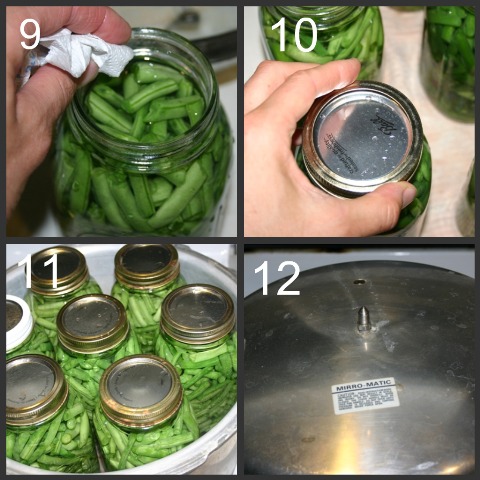
9. Wipe the jar rim and the lids with a paper towel to get rid of any water that would prevent a good seal.
10. Place a lid and ring on each jar. Tighten the ring until you feel resistance. Do not overtighten.
11. Place the jars into the pressure canner so that they aren’t touching each other or the sides of the canner.
12. Place the lid on the canner and tighten down. Keep the burner on high heat and wait until steam escapes from the vent. Allow steam to escape for a few minutes.
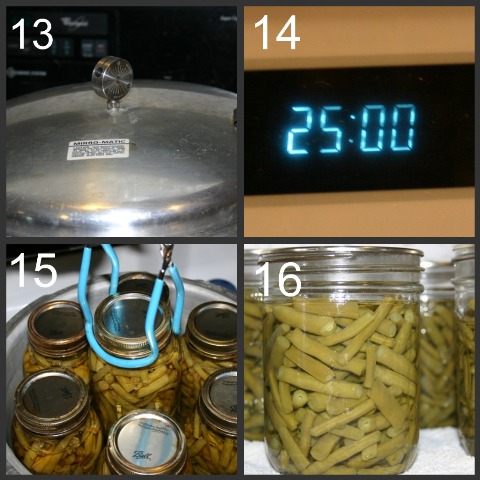
13. Once steam starts to escape from the vent put the weight onto the vent at 10 pounds. (Higher altitudes will need to make adjustments to this number.) It will take several minutes, but you need to listen for the weight to start jiggling.
14. Once the weight first starts to jiggle, start the timer for 25 minutes for quarts or 20 minutes for pints. Turn the heat to medium or whatever temperature is necessary to maintain a consistent jiggle. It needs to jiggle at least 4 times per minute.
15. Once the timer goes off, turn off the heat. Allow your pressure canner to sit until the pressure falls to zero. On my canner there is a lock that won’t release until the pressure has dropped. This may take quite a while. Remove the jars with a jar lifter and place on a towel to cool.
16. Check the jars to make sure they have sealed and do not move for 24 hours. (If any jars didn’t seal, refrigerate them and use them within a few days.) At this point I remove the rings so I can use them again.
I hope this helps you. If anything wasn’t clear or if you need more information please leave me a comment.