I decided to make the kids each a colored pencil roll and journal for Christmas this year. I had seen the idea in the book The Creative Family: How to Encourage Imagination and Nurture Family Connections by Amanda Blake Soule (affiliate link), but I didn’t have big enough pieces of felt to make a pencil roll like hers.
So, I decided to figure out how to make a pencil roll with only one smaller piece of felt instead of the four pieces she used. I did not use her directions to make this tutorial and my pattern is definitely different.

Here are the directions to make your own colored pencil roll.
Supplies
- Felt
- 3/8 inch Elastic
- Thread
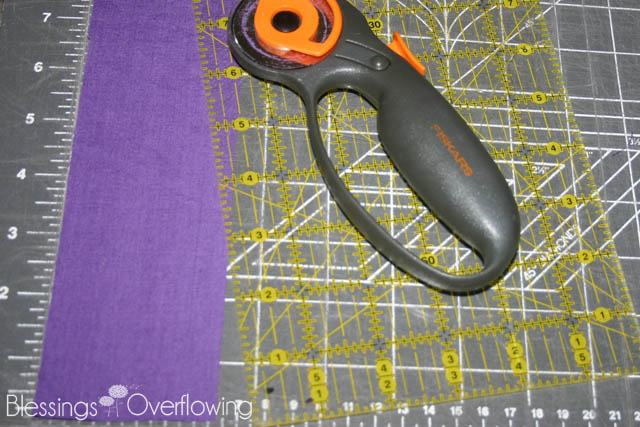
- Scissors or Rotary Cutter
- Sewing Machine
- Pins
- Ruler
- Chalk
Instructions
1. Cut the felt to the dimensions of 12 1/2 inches x 13 inches.

2. Turn the felt so that the 13 inch side is the vertical side and the 12 1/2 inch side is running horizontally.
3. Fold the bottom of the felt up 4 inches and pin.
4. Fold the top down 1 1/4 inches and pin.

5. Cut a 6 inch piece of elastic.
6.Fold the piece of elastic in half and pin it to the right side in between the two layers of felt you have from folding the bottom up.
7. Pin it just below the raw edge.
8. Sew around the entire piece of felt using a 1/4 inch seam allowance.
9. Sew over the elastic 3 or 4 times for stability.
10. Make 11 chalk lines on the bottom folded part of the felt at one inch increments. Do not measure from the edge of the felt. Start measuring inside your two seam lines or else your pockets will be off. These will become the 12 pencil pockets.

11. Stitch on each chalk line making sure to backstitch at the beginning and end of each seam.
That is it. You can now put 12 colored pencils in the pencil roll and slip the top flap over their tips.

Roll your pencil roll from the left to the right and slip the elastic loop over the roll.

This is a quick project because felt doesn’t ravel and only requires one layer.
I also wanted to let you know how I made the drawing journals. I cut a piece of card stock in half and used the two pieces as the front and back cover. I cut a piece of chipboard for a sturdy back, and I cut 15 pieces of plain paper in half so that there are 30 half sheets in each journal.

Next, I punched holes in the top of each piece of paper and chipboard and layered them as follows: cover, 30 pieces of plain paper, chipboard, and back cover. I chose to only write each child’s name on the front in order to allow them to personalize their own covers.
I used 2 paper fasteners to hold each journal together. Update: I highly recommend using rings or yarn instead of the brads. I ended up having to change them after the kids used them a few times.
I think the children will like these gifts because they are always drawing and writing. Everything I used for the pencil rolls and journals were things I already had in the house which made these gifts extremely frugal.
This post contains and affiliate link. Thanks for supporting this site.


Pingback: Felt Colored Pencil Rolls()