Last month I showed you my oldest daughter’s stash of duct tape. I even said that I might have her write a monthly duct tape craft post.
I am happy to say that Julia has kindly agreed to share with her old mom, and thus all of you, how she makes some of her duct tape crafts.
We decided that it would be best to start with her easiest ideas and go from there. She took it upon herself to write out how she makes duct tape bracelets, then she showed me as I took pictures.
This means that today I get to share how my daughter makes “shabby chic” duct tape bracelets. Here are Julia’s instructions.
Have you ever wondered what to do with your empty rolls of duct tape? Well, wonder no more. Here is a simple and easy way to make a bracelet. It takes me only 5-10 minutes.
Supplies
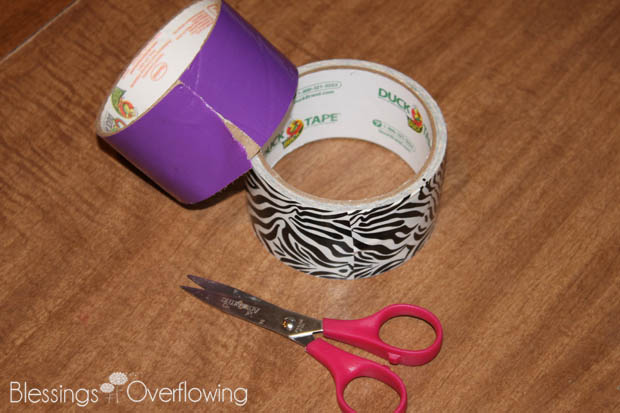
- Scissors
- Empty Roll of Duct Tape
- Duct Tape (in your favorite design)
Instructions
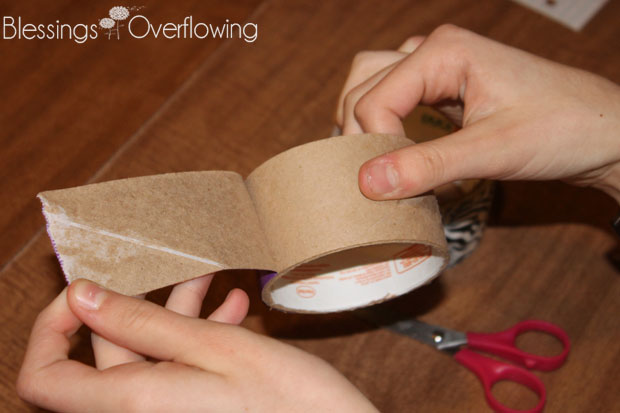
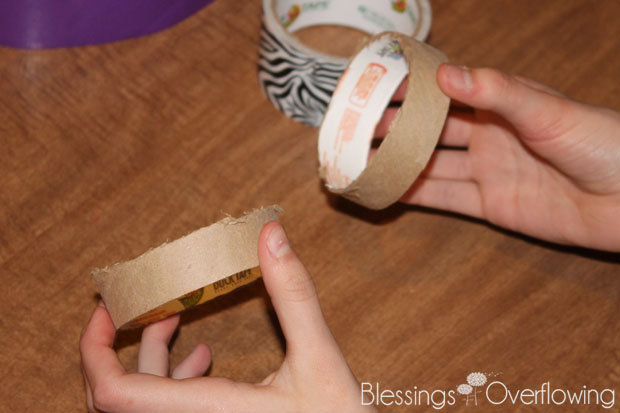
1. Peel off any tape still remaining on the empty roll. It will have cardboard on the back but save it for future projects.
Here are a couple of optional steps for a thinner bracelet. You can make a chunky bracelet by not following steps 2 and 3.
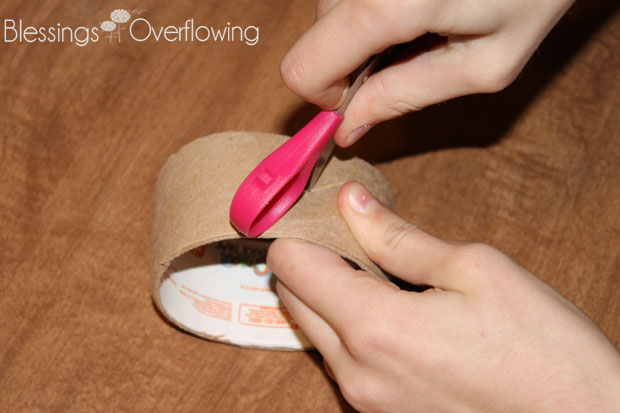
2. Poke the scissors into the center of the empty roll.
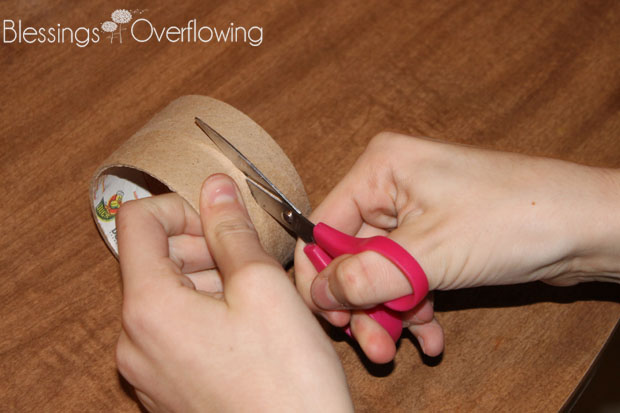
3. Cut the roll in half.
Now you should have two blank bracelets.
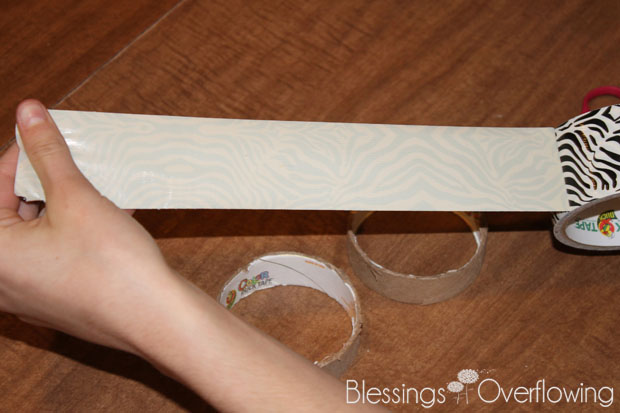
4. Cut a piece of duct tape that is at least 1 foot long.
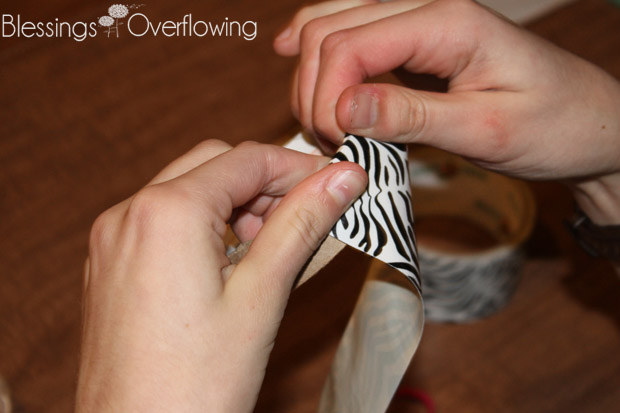
5. Attach the end of the duct tape to the inside of the bracelet and begin wrapping it around the entire bracelet.
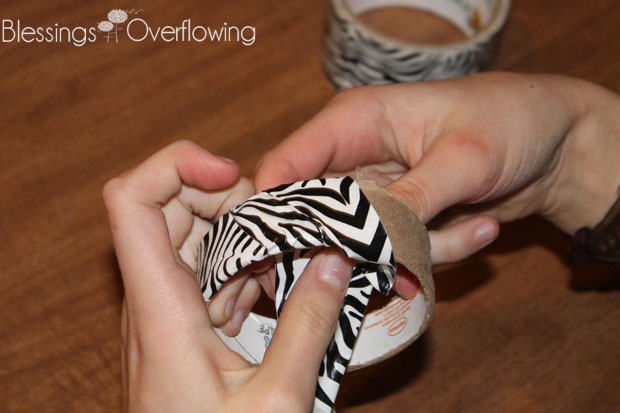
6. Wrap the tape around the entire bracelet, crinkling it slightly as you go. This will give your bracelet a “shabby chic” look.
Now, you can try to put the duct tape on straight, but it is very difficult. So, putting it on a little crinkly will make it easier for you.
7. Either wrap the other bracelet in duct tape or, if you only made one bracelet, put it on your wrist and say, “I did it!”
Have fun wearing your bracelet!
Julia 
*Note from mom: I think my “little girl” did a great job of explaining how she makes duct tape bracelets. Let her know what you think of her tutorial. I know she will enjoy hearing from you.
I am linking this post to:


