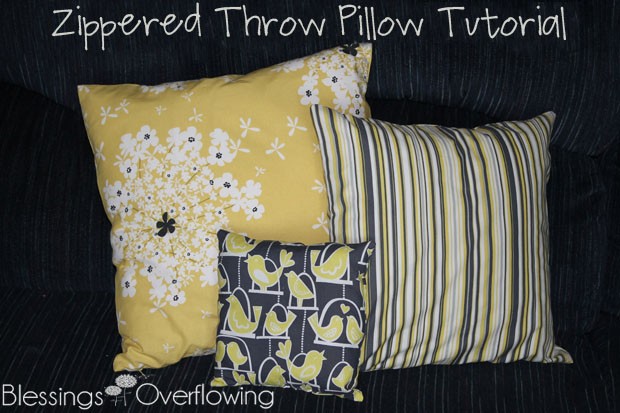
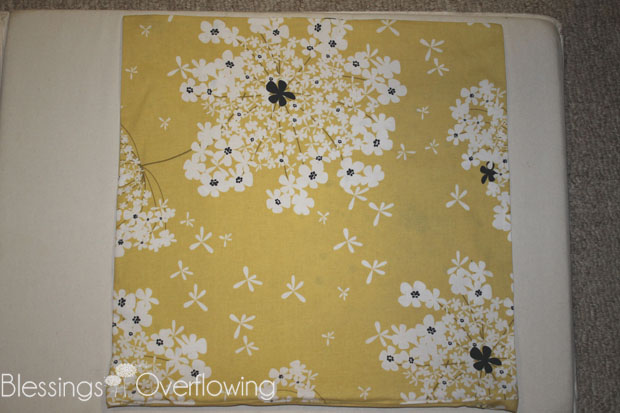
Last week I shared a tutorial for making valances. The valances I made were for my living room. Since I made new curtains I decided to make some new throw pillows to go with them.
I tend to have a sort of zipper-sewing phobia, but I decided to try to conquer my fears and make zippered pillows so that I can easily wash the covers if necessary. With 3 boys I am going to guess it will be necessary. ![]()
Since I wanted to make sewing the zippers easy, I may not have followed the “rules” of sewing zippers. However, the zippers work and I love my new throw pillows.
Supplies
- Fabric
- Zipper (2 inches shorter than pillow form)
- Pillow Form
- Thread
- Pins
- Scissors/Rotary Cutter
- Ruler
Instructions
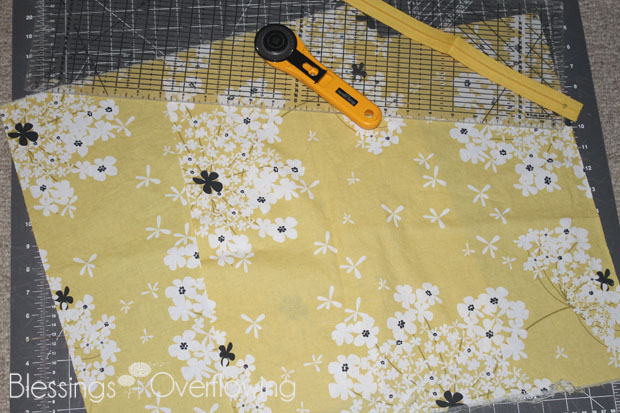
1. Cut two pieces of fabric 1 1/4 inches wider than your pillow form.
For example, the large pillows (yellow floral) I made I used a 16 inch pillow form and cut my fabric to a size of 17 1/4 inches square. For my 14 inch pillows forms (stripes) I cut my fabric to a size of 15 1/4 inches square. Finally, for the small pillows I didn’t use a pillow from or a zipper. I simply cut the fabric at 9 1/4 inches square and stuffed them.
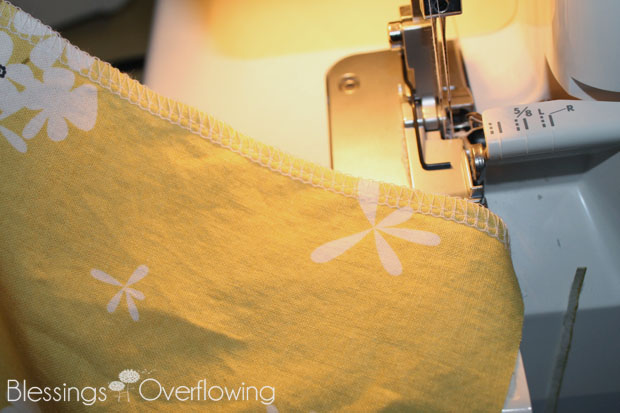
2. Serge or overcast (zig-zag stitch) along the bottom of each of the two pieces of fabric you cut in step 1. If serging, try not to cut much, if any, fabric off while you serge.
The reason you want to overcast the bottom of the fabric, if you are using a directional print, is because you want the zipper to be at the bottom of the pillow.
During the next few steps we will be dealing with the zipper. To determine the size of zipper you need to purchase you first need to know what size of pillow form you are using.
So, when you pick out a pillow form get a zipper that is two inches shorter. For example, I used 14 inch zippers for my 16 inch pillows and 12 inch zippers for my 14 inch pillows.
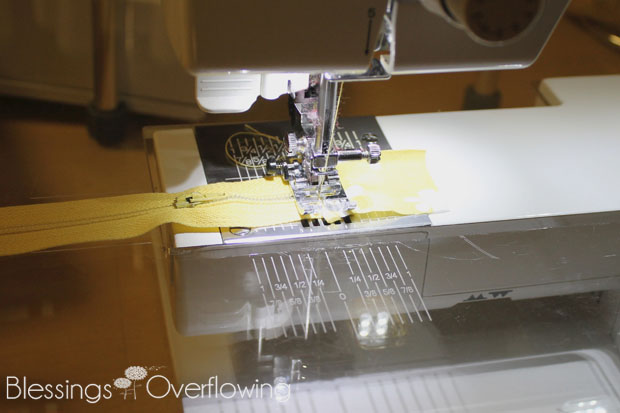
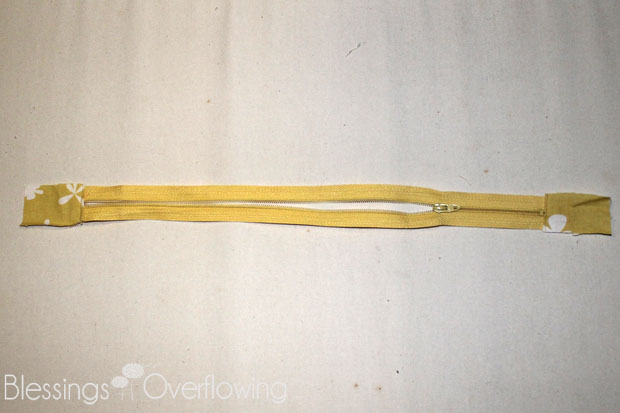
3. Cut two pieces of fabric the same width as your zipper and about 3 inches long. Fold one end under about 1/4 of an inch. Sew it on top of the zipper just below the stopper. Do the same thing at the other end.
This is what your zipper should look like after sewing the small fabric pieces to each end of the zipper.
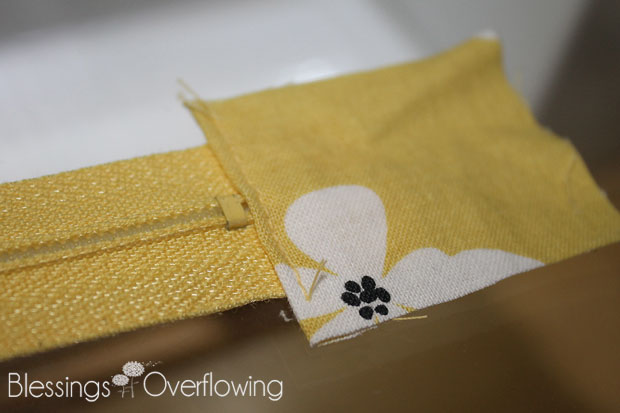
Here is a close-up of what it should look like. Disregard the fact that the fabric is too wide. I trimmed it down to be the same width as the zipper after taking the picture.
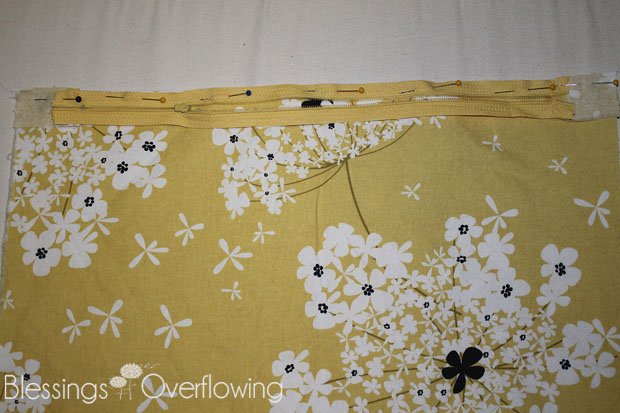
4. Pin one side of the zipper, face down, onto the bottom of one piece of your pillow fabric (The edge you serged or zig-zagged in step 2.) being sure to line up the edge of the zipper evently with the edge of the fabric. Pin in place.
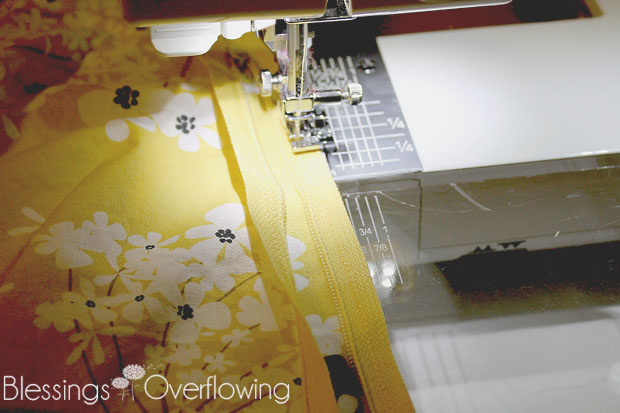
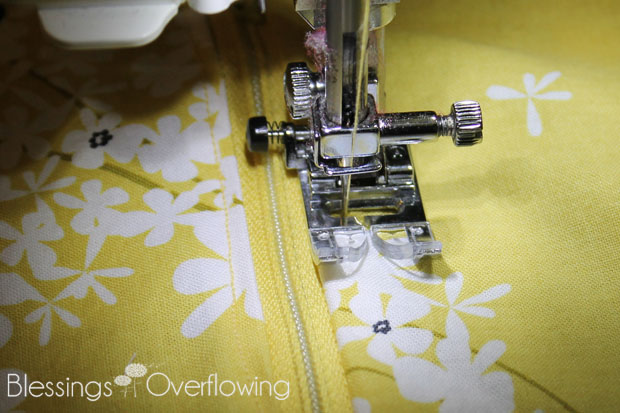
5. Using a zipper foot sew along the zipper with the zipper foot right beside the teeth. Backstitch at both ends.
6. When you have the zipper sewn to both pieces of fabric, lay out your fabric and zipper so that the zipper is in the center and the two pieces of fabric extend to the left and the right of it.
Sew on the fabric, close to the zipper.
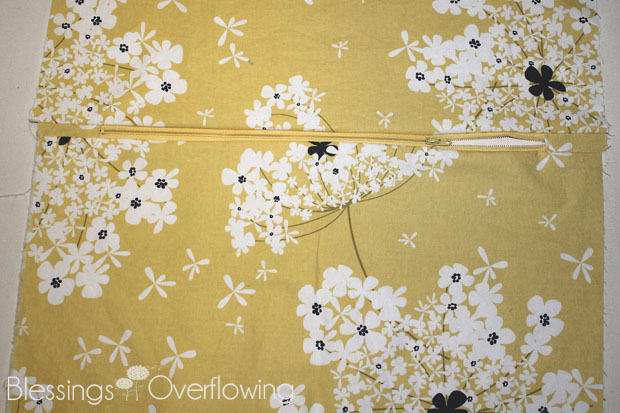
This is what your pillow should look like so far.
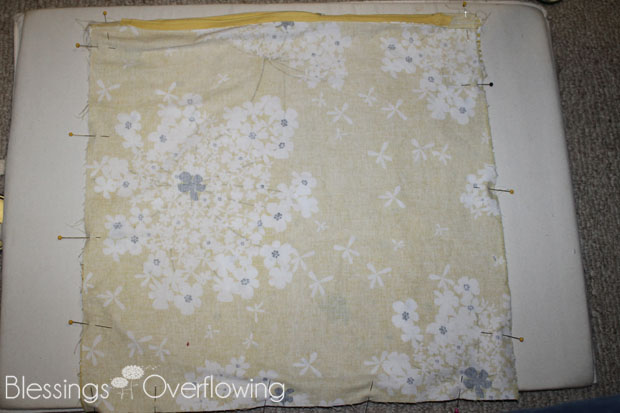
7. Fold the fabric so that right sides are together and the zipper is at the top. Pin the fabric in place.
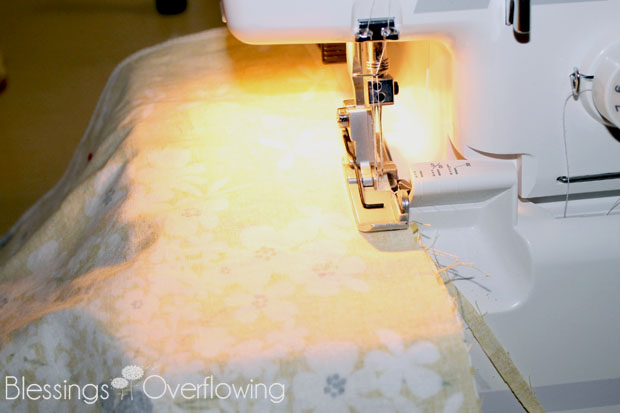
8. Sew along the 3 raw edges of the pillow. I used a serger and tried not to trim much of the fabric as I sewed. If you don’t have a serger you can sew about a 1/2 inch seam and then zig-zag around the whole thing in two steps.
If you followed all of the steps this is what your pillow should look like before you insert a pillow form.
Once you put a pillow form in give yourself a pat on the back for making a zippered throw pillow. Or, make a bunch more because you are had so much fun. ![]()
We are enjoying the new pillows I made, can’t you tell?
I am linking this post to Tatertots & Jello Favorite Projects of 2012 Link Party.


