Good morning! It’s time for Fix It Up Friday again. I am so glad to have you join me. Thank you to those of you who linked up last week. If you are a blogger and have a creative post to link up, please do so. I always love to see what other people create. The guidelines can be found here. If you link up a post I will feature it on my Facebook page as well.
This week as I have been looking through my closet, I decided that I am not good at accessorizing. It isn’t that I don’t like scarves or jewelry, it’s just that I don’t always take the time. Also, with a baby that chews on everything, wearing necklaces that could break and be a choking hazard aren’t always the best idea.
However, I think I have come up with a frugal option that is safe for my baby to chew on if she wants to.
What do you think? I like it and if Janna’s chewing on it was any indication, I would say she likes it, too. Would you like to know how I made it? Here are the instructions.
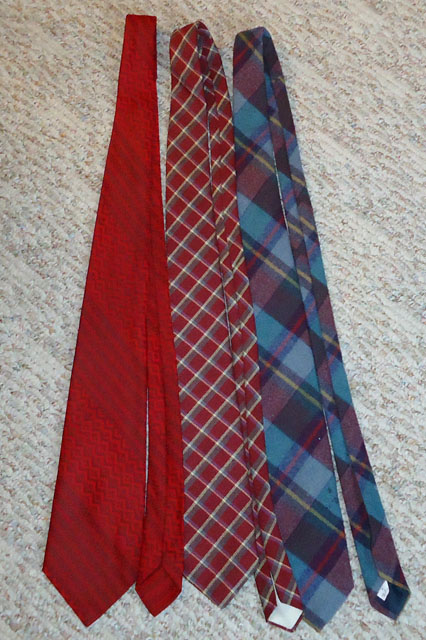
First find a necktie (or two or three). Thrift stores or yard sales or uncles paring down their wardrobes (Thanks, Uncle Dan!) are great sources for ties.
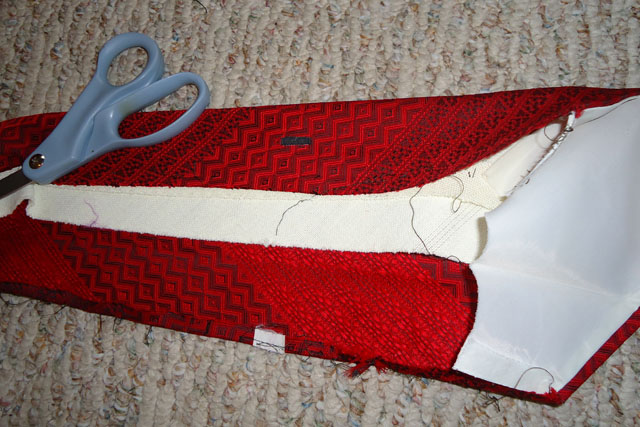
Next, you need to cut open the back of the tie and pull out the lining. This was pretty easy since the stitching was hand stitched, or if it was by a machine it was like hand stitching.
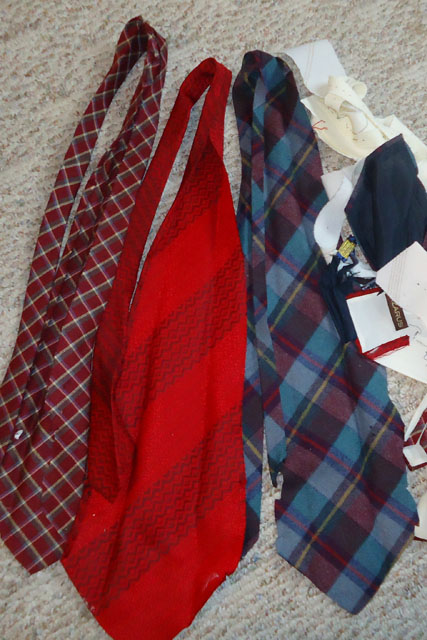
Here is what my ties looked like after I deconstructed them.
I decided to press the wrong side of the ties to get out the creases. If the tie is silky, be sure to press the wrong side on a low setting to avoid scorching the tie.
I the cut the tie to a width of 3 inches. I also cut off the pointed ends of the necktie to make the length about 46 inches.
After that, I folded the tie lengthwise with right sides together and stitched the tie along the raw edge using a 1/8 inch seam allowance. I used a triple stitch to prevent the seam from busting when I knotted it. I’m not sure it was necessary, but I figured it was better to be safe than sorry.
Next, I inserted a safety pin into one side of one end and then threaded it all the way through the tube I created in the previous step. This step made my tie be right side out again.
For the next step I used some half inch wooden beads I had purchased at a yard sale. There were a whole bunch for 25 cents. (Yay, for yard sales!) I think plastic beads would work fine. too. It really doesn’t matter what they look like since they will be hidden inside the necklace.
I didn’t get a picture of the knotting process, but I will try to explain what I did.
First, I put one of the beads into the tube and put it in the center. Then I tied a single knot on each side. I kept adding beads and knots evenly on each side of the first bead until I had it the way I wanted it. I ended up using 8 beads and tied 9 knots.
Next, I folded the raw edges at the ends of the tube under 1/4 inch and stitched the openings closed using an 1/8 inch seam allowance. This made the raw edges tucked inside the tube.
Finally, I tied a single knot to complete the necklace and secure the two ends together.
I haven’t turned the other two ties into necklaces yet, and now I have three more to make for Julia. She saw mine and thought it was cool, so of course I let her pick out some ties. I guess I have my work cut out for me. Well, not literally cut our for me because I will have to do the cutting. But wouldn’t it be cool if the ties would cut themselves out?
Anyway, this was a fun project. I am excited to start wearing necklaces again. Plus, Janna will have a chew toy that won’t fall on the floor. :)
Now it’s your turn to link up your creative posts. I look forward to seeing all of your great ideas. The guidelines for linking up are here.


