When I posted about the t-shirt quilt I made I said I would post a binding tutorial. I decided I better post it before I forgot what I did. So, here you go. Remember, I am no expert. If you have questions please let me know.
I did want to say that this binding is not cut on the bias, and therefore is easier to make in my opinion.
To make binding for a 5 ft. x 6 ft. quilt I purchased 1 yard of 100% cotton fabric. I had quite a bit left over, but if your quilt is much bigger you might want to purchase 1 1/2 yards to be safe.
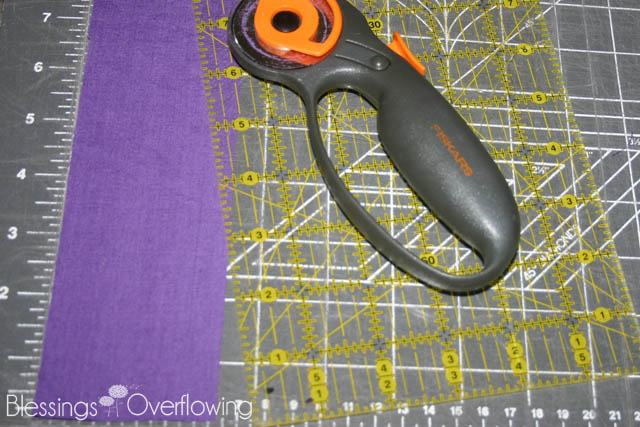
I pre-washed my fabric and dried it on high heat. I folded the fabric into a manageable piece and cut it into 2 1/2 inch strips.

Then, I stitched each strip together using a 1/4 inch seam allowance. I ended up with a very long piece of 2 1/2 inch wide fabric. I pressed each seam open after I had sewn the strips together but it isn’t necessary. The seams could be pressed to one side or the other.

Next, I ironed the entire strip of fabric in half lengthwise so that I had a 1 1/4″ strip of binding.

The binding was ready to sew on at that point. I left about a 6 inch tail at the beginning. Then I started sewing by placing the raw unfolded edge of the binding even with the edge of my quilt. I used a 3/8 inch seam allowance.
When I got to the first corner I stopped 3/8 of an inch from the edge, backstitched and clipped my thread. You will do this for each corner.

Then I flipped my binding up so that I had a diagonal fold at the edge.

The next step was to fold the rest of the binding over the fold I made in the previous step. See the folded edge at the top? Underneath that it looks just like it did in the previous picture. I then pinned it in place.

I placed my needle at the folded edge and started sewing again using a 3/8 inch seam allowance. Remember the raw edge should be even with the edge of your quilt.

If you want to check to see if you made the mitered corner properly fold back the fabric at the corner after you have stitched it down and it should look like the picture above.

Continue stitching the binding around the entire quilt making sure to follow the steps above for each corner. When you get near the end leave 2 to 3 inches un-sewn and follow the steps below.

Cut off the binding at both ends leaving 2 inches extra. I would suggest folding and pressing the end of the binding over 1/4 inch where my fingers are in the picture.
I highly recommend that you fold over the raw edge on the piece that is at the top. I didn’t fold the end of the binding over and press it, but I should have.
Next, tuck the biding at the top into the binding at the bottom as shown in the picture above.

Continue stitching the binding down until you get to where your seam started. Backstitch and cut your threads.

The next step is to iron the binding, but I wanted to share a couple of things before I tell you about that.
I used Guterman’s fusible thread in my bobbin when I was sewing the binding to the front because I thought it might hold the binding down when I ironed it. This was a first for me and it didn’t seem to work.
My husband’s aunt suggested that next time I use Steam-A-Seam 2 (It is a 1/4 inch seam tape that can be ironed or it works like double stick tape.). The purpose of the seam tape or the fusible thread is to make it so you don’t have to pin the binding in place.
Anyway, you need to bring the folded edge of the binding around to the back and iron it. If you don’t use the fusible thread or seam tape you will need to pin the binding every couple of inches.

At this point you can hand stitch your binding to the back of your quilt so that no stitches show on the front. That is a long process, but looks really nice.
You can also just sew a straight seam around the whole quilt, but unless your binding is perfect it might not look as nice on the back as it will on the front. This is what I did and wasn’t overly happy with it.

So, I stitched around the whole quilt again using a decorative stitch in which half of the stitching was on the binding and the other half was on the quilt. I liked how it looked and was happy with how it held the binding on the front and back. This is what I will do in the future if I don’t hand sew the binding on the back.
Clear as mud, right? Hopefully, it is a little clearer than that. 🙂 Let me know if anything doesn’t make sense.