My brother and sister-in-law grew this pumpkin this year and gave it to me. Their method of growing was a little unorthodox. They basically threw out the seeds from pumpkins they cut up last year behind their garage and several grew this year. ![]() They said this is called a Cinderella pumpkin. It weighed over 20 pounds and I was happy to be the recipient.
They said this is called a Cinderella pumpkin. It weighed over 20 pounds and I was happy to be the recipient.
Last year I talked about how I cook and puree pumpkins, but I thought I would try a different method this year and take a few more pictures of the process. Last year I cooked the pumpkin on the stove, but this year chose to try baking it in the oven.

To begin, I cut the top of the pumpkin off. Eww, pumpkin guts.

Then, I cut the pumpkin in half and scraped out the inside. I didn’t throw the seeds away, though. I will get to those in a minute.

After I got all of the strings and seeds out I cut the halves into more manageable pieces. This isn’t necessary unless you have a big pumpkin like mine.
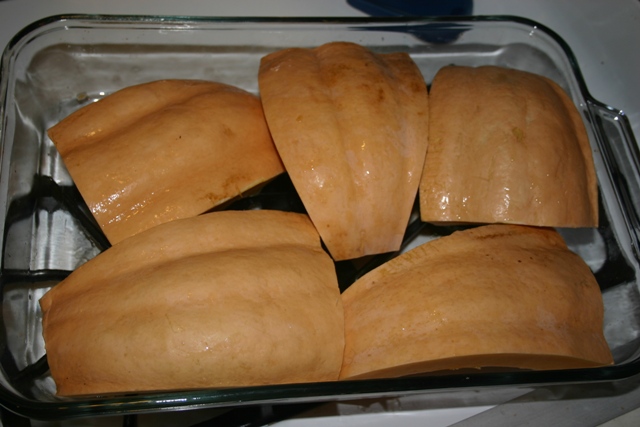
I put the pieces face down in a pan and added about 1/2 inch of water

I covered the pan with foil and put it into a 350 degree oven. My pumpkin pieces took 1 1/2 hours to bake. You will know it is done when the shell can easily be squished down when you press on it. Pretty scientific, huh?

When the pieces were cool enough to handle I scooped out the flesh with a spoon.
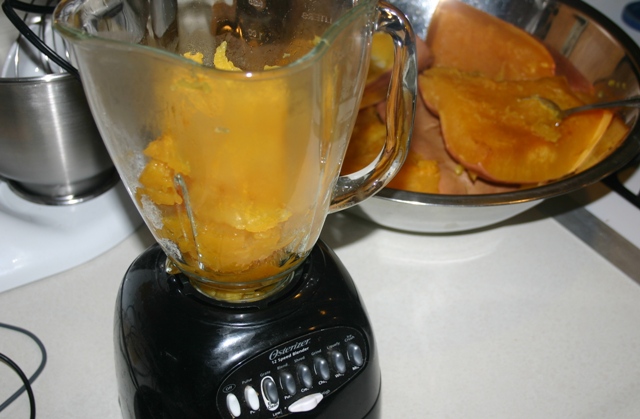
I don’t have a very big food processor, so I used my blender to puree the pumpkin pulp. I added a little water to help with the blending process.
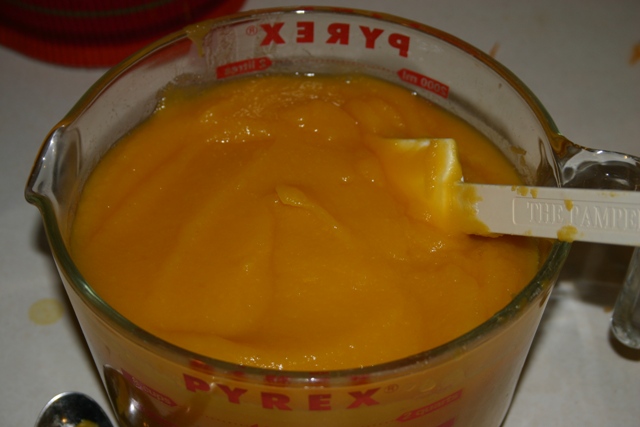
Look at that beautiful pumpkin puree! Notice the difference in the color of fresh pumpkin versus canned. It takes more work, but I enjoy the process and especially love the end result.

I ended up with 20 cups of pumpkin puree. I froze 12 cups in 2 cup increments. With the rest I made pumpkin soup, pumpkin butter (Check back tomorrow for the recipes.) and some allergy-free pumpkin cake.
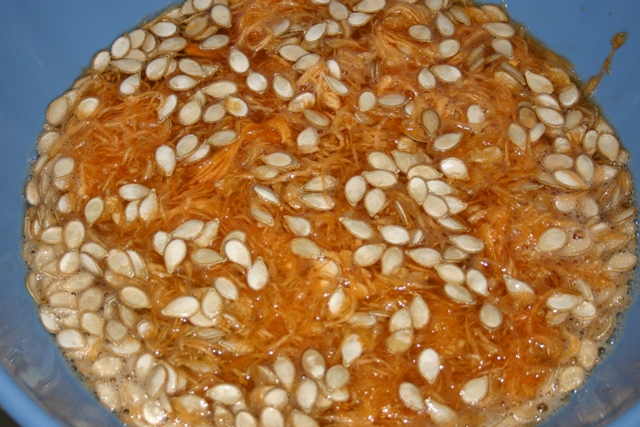
I told you I would get back to the seeds, so here we go. Place the seeds and any stringy pieces attached to them in a bowl of water. Most of the seeds will rise to the top. Get as many of the seeds as you can and put them in another bowl. You may have to do this process another time or two to get all of the seeds separated from the stringy pieces. It is alright if there are a few strings left on them. (See the picture below.)

Lay the pumpkin seeds on a towel and allow them to dry overnight.

Place the seeds in a pan. Drizzle the seeds with a little olive oil and sprinkle with salt. Bake in a 300 degree oven for 30-45 minutes.
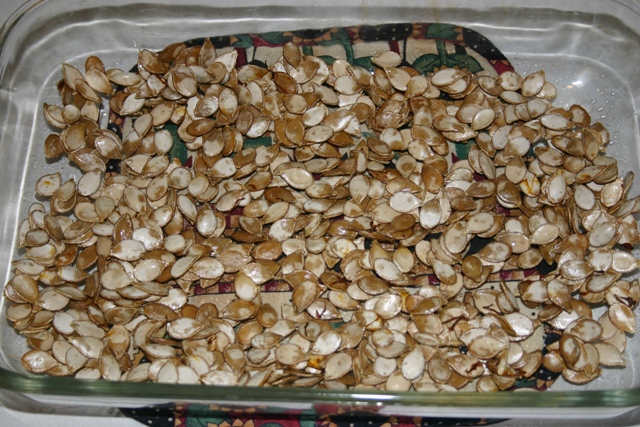
Here is what the seeds will look like when they are done. They taste like popcorn. They are a tasty and healthy snack.
Thanks again, Jeff and Emily, for the beautiful pumpkin. Do you think I could just throw some seeds out for my garden next year and get the same results? ![]()
What are your favorite pumpkin recipes? I am always on the lookout for new recipes.